Quick Answer
Maintain tile and grout by identifying the tile, grout, sealer, and type of soil before choosing a cleaner. Remove loose grit first. For ordinary soil on compatible ceramic or porcelain installations, begin with warm water or a correctly diluted neutral cleaner and a soft cloth, mop, or nylon brush. Rinse away loosened soil and cleaner residue, then dry the surface.
Do not assume that a cleaner safe for glazed porcelain is safe for marble, limestone, travertine, unglazed tile, cement grout, epoxy grout, or an unknown sealer. Acid, bleach, alkaline degreasers, abrasives, and steam are not universal upgrades. When grout repeatedly darkens, stays damp, cracks, powders, smells musty, or separates from the tile, stop treating the problem as dirt alone and investigate moisture, movement, failed sealant, or installation damage.

Identify the Tile Before You Clean the Grout
“Tile floor” describes an assembly, not one surface. The visible field may be glazed ceramic, porcelain, quarry tile, glass, marble, limestone, travertine, slate, granite, or another material. The joints may contain cement-based grout, epoxy grout, a premixed product, or flexible sealant at changes of plane. The tile or grout may also have a penetrating sealer or topical coating.
Start with records: the invoice, leftover box, spare tile, product code, installation documents, sealer bottle, or information from the installer, builder, landlord, or property manager. Look closely under good light, but do not use vinegar, bleach, a metal blade, or an aggressive scrub as an identification test.
This matters because a convincing stone-look porcelain tile may tolerate a method that would etch genuine marble. A grout line that appears cementitious may be epoxy or another product with different maintenance guidance. If the installation is unknown, use conservative dry care and a small amount of pH-neutral cleaner labelled for the surfaces you can confirm. Test it in an inconspicuous area and allow the spot to dry before judging the result.
Remove Dry Soil Before It Becomes Grout Soil
Sand and grit can scratch some tile finishes and collect in joints. Sweep with a soft broom, use a clean untreated dust mop, or vacuum with a hard-floor setup. Turn off a rotating brush unless the flooring and vacuum instructions permit it. Check wheels and brush housings for trapped stones.
At entrances, use compatible mats and clean beneath them. In kitchens, pick up crumbs and grease-bearing particles before mopping. In bathrooms, remove hair and loose debris before wet cleaning. Otherwise, a wet mop can turn dry soil into dirty solution and deposit it in the lower grout joints.
Dry soil removal is not merely preparation for a stronger cleaner. It is often the maintenance step that prevents discolouration and reduces how frequently deep cleaning is needed.
Use the Least Aggressive Compatible Routine
For routine maintenance, follow the tile, grout, and sealer documents together. Where those documents agree, a practical sequence is:
- Vacuum, sweep, or dust-mop loose material.
- Test the selected cleaner in a hidden area and let it dry.
- Dilute and apply it exactly as the label directs.
- Give it only the stated contact time; do not let dirty solution dry on the surface.
- Agitate grout gently with a white nylon pad or soft nylon brush when permitted.
- Remove the dirty solution rather than spreading it into adjoining joints.
- Rinse when directed, changing water or pads as they become dirty.
- Dry the floor and keep traffic away until it is no longer slippery.
For ceramic and porcelain, specialist guidance commonly begins with warm water or a neutral cleaner formulated for tile and grout. Natural Stone Institute guidance likewise recommends a neutral stone cleaner, stone soap, or a mild dishwashing detergent for routine natural-stone care, followed by thorough rinsing and drying. These recommendations overlap at the gentle end, but they do not make every tile cleaner suitable for every stone, grout, or sealer.
Too much detergent can leave film and attract new soil. A uniformly dull floor may therefore need better rinsing, a clean pad, and fresh water—not more product. If the residue began after a new cleaner, coating, or mop system, stop layering products and consult the relevant care guide.
Match the Cleaner to the Deposit, Not Its Colour
Dark grout does not automatically mean mould, and white crust does not automatically mean soap. The response depends on what is present.
- Loose dirt and traffic soil usually respond to dry removal followed by neutral cleaning.
- Grease and cooking soil may require a compatible alkaline cleaner, particularly in neglected kitchen areas.
- Soap scum is a mixture of residues that may need a product specifically approved for the tile, grout, and sealer.
- Hard-water deposits or efflorescence are mineral problems. Acidic products can dissolve some deposits, but they can also etch acid-sensitive stone, damage some finishes, or affect grout and metal fixtures.
- Grout haze after installation depends on whether the grout was cement-based, epoxy, or another type. The correct remover and timing differ.
- Biological growth requires moisture control as well as cleaning.
Do not choose a chemical because an online demonstration showed a similar colour. Read the label’s approved surfaces, exclusions, dilution, ventilation, personal-protection, contact-time, and rinsing instructions. Protect adjacent wood, metal, paint, sealant, and furnishings. Never mix cleaning products. The CDC specifically warns not to mix household bleach or disinfectants with other cleaners because dangerous vapours can be released.
Acidic cleaners deserve particular restraint. Vinegar and lemon juice are acids even when described as natural. Natural Stone Institute guidance warns against acids on marble, limestone, travertine, and on grout where the acid can attack the joint. A manufacturer may specify an acidic restoration product for a confirmed ceramic or porcelain installation, but that narrow instruction is not a general household recipe.
Grout Sealer Helps With Stains, Not Leaks
Some cement-based grout benefits from a compatible penetrating sealer. Some grout products do not require sealing, and some installations use epoxy or other materials with different instructions. The tile itself may be glazed and need no sealer, unglazed and require one, or natural stone with a separate sealing schedule.
Do not determine the need for sealer from grout colour alone. Find the grout and sealer documentation. If unavailable, ask the installer or a qualified tile professional to identify the system and test appropriately. Applying an incompatible sealer can leave haze, change appearance, trap residue, or complicate later maintenance.
A sealer may slow absorption and give you more time to wipe a spill. It does not make grout stain-proof, stop every colour change, repair cracks, or convert a tile installation into a waterproof room. In showers, the water-management system belongs behind or beneath the visible finish. Repeated dampness, staining beyond the wet area, loose tile, or deterioration at a wall or floor edge needs assessment rather than another coat of sealer.
Prevent Bathroom Buildup by Controlling Water
After a shower, a squeegee can remove water and dissolved minerals before they dry on the surface. Run the exhaust fan or use appropriate ventilation during and after bathing. Keep drains clear, dry recurring puddles, and repair plumbing or sealant failures promptly.
EPA guidance emphasizes that moisture control is the key to controlling mould. On small areas of hard surface, it advises cleaning with detergent and water and drying completely, while also correcting the water problem. Routine use of bleach or another biocide is not a substitute for moisture control.
If visible growth covers more than about 10 square feet, follows substantial water damage, involves sewage or contaminated water, may be hidden behind finishes, or affects someone with health concerns, EPA guidance points readers toward professional or health advice. Do not grind, sand, or aggressively brush suspected growth into the air. Keep children and pets away from the work area and follow product precautions.
Recurring darkening in a shower joint may be surface soil, stained cement grout, deteriorated caulk, persistent moisture, or growth behind the visible line. Cleaning can clarify the surface. It cannot prove that the concealed assembly is dry.
Know When Discolouration Is Actually Damage
Inspect the area after it is clean and fully dry. Side lighting and photographs taken from the same angle can help you compare change without scraping.
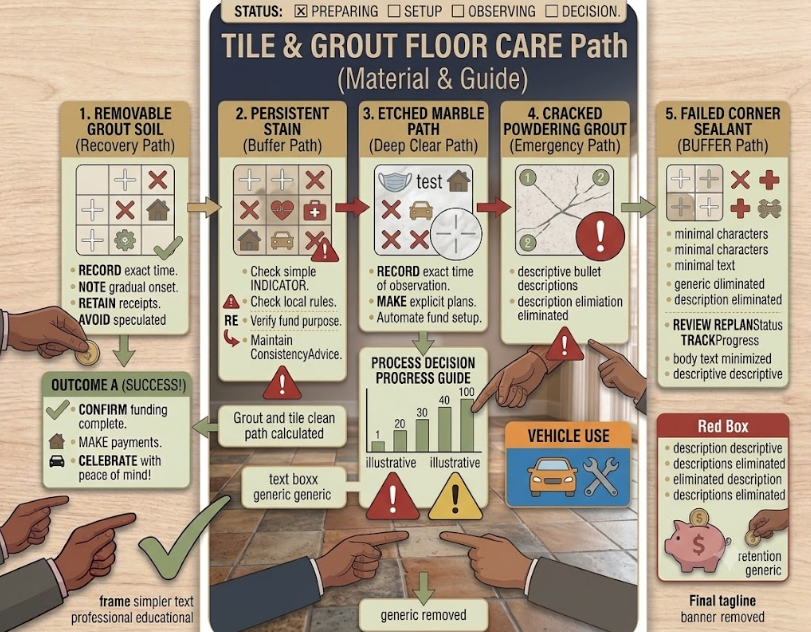
- Surface soil transfers or lightens with an approved cleaning method.
- A persistent stain remains in the tile, grout, or sealer after compatible cleaning.
- Etching is a chemical change that can look dull, pale, or rough; it will not wash away.
- Cracked or powdering grout has lost physical integrity.
- A hollow-sounding, loose, or tented tile suggests a bond or movement problem, not a cleaning problem.
- Failed flexible sealant may split, peel, or separate at corners and changes of plane.
- Recurring wetness, odour, or spreading discolouration can indicate an unresolved moisture source.
Stop scrubbing when the approved method changes sheen or colour, loosens material, or exposes a crack. Do not recolour grout merely to hide active moisture, coat over growth, or use a sealer to bridge a moving joint. Record the cleaner, dilution, dwell time, photographs, and history of leaks or repairs before a contractor changes the evidence.
Professional assessment is sensible when grout repeatedly crumbles, cracks return, tiles move or sound newly hollow, sealant repeatedly separates, moisture reaches adjacent rooms, or the material cannot be identified without risk. A tile or stone restoration specialist may be more appropriate than a general cleaner for etched or valuable natural stone.
Build Maintenance Around the Installation You Have
A durable routine does not require a shelf of chemicals. It requires accurate identification, frequent dry-soil removal, prompt spill response, a compatible neutral-cleaning method for ordinary soil, and complete removal of dirty solution.
Before escalating, answer five questions:
- What are the tile, grout, sealer, and flexible joints made of?
- Is the visible change loose soil, grease, soap film, minerals, staining, growth, etching, or physical failure?
- Does the governing product guidance allow this cleaner, tool, and contact time on every surface it will touch?
- Has the area fully dried, or is water continuing to enter?
- Will the next step remove contamination, or merely hide damage and delay assessment?
Tile often feels forgiving because the hard field surface survives ordinary use. The joints and the materials beneath it are less visible and may be less tolerant. Clean gently, rinse thoroughly, dry completely, and let repeated moisture or physical change trigger investigation rather than stronger chemistry.
FAQ
What is the safest everyday cleaner for tile and grout?
Use the cleaner named for the confirmed tile, grout, and sealer. For many ceramic or porcelain installations, a correctly diluted neutral tile-and-grout cleaner is a sensible starting point. Natural stone needs stone-compatible guidance, and unknown surfaces should be tested conservatively.
Can I clean grout with vinegar?
Do not treat vinegar as universally safe. It is acidic and can etch marble, limestone, travertine, and other acid-sensitive stone, while repeated acid exposure may also affect cement-based grout. Use a compatible product for the confirmed material and deposit.
Does grout always need to be sealed?
No. Some cement-based grouts benefit from a penetrating sealer, while some modern cement, epoxy, or premixed grouts have different requirements. Check the exact grout and tile documents before sealing.
Will sealing grout make a shower waterproof?
No. Sealer can improve stain resistance and slow absorption, but it does not replace the shower’s waterproofing and drainage system, repair cracks, or stop a concealed leak.
Is bleach safe for grout?
Only if the cleaner label and the tile, grout, and sealer instructions permit it. Bleach can affect colour, sealer, adjacent materials, and indoor air. Never mix bleach or any disinfectant with another cleaner, and provide the ventilation and protection required by the label.
Why does grout become dirty again soon after cleaning?
Dirty mop water, cleaner residue, incomplete rinsing, traffic soil, grease, mineral deposits, or continued moisture may be responsible. Remove loose soil first, use clean solution and pads, extract dirty liquid, rinse as directed, and let the area dry before reassessing.
When should tile or grout be professionally assessed?
Seek assessment when grout cracks or powders repeatedly, tile moves or sounds newly hollow, flexible sealant separates, natural stone is etched, dampness or odour returns, water appears in adjacent areas, or the material and safe treatment cannot be confirmed.
Sources
- Natural Stone Institute – Learn About Cleaning Products for Natural Stone
- Daltile – Ceramic & Porcelain Tile Care & Maintenance
- LATICRETE – Cement Grout Care & Maintenance
- MAPEI – Maintenance of Tile Where Non-Cement Grout Was Used
- EPA – A Brief Guide to Mold, Moisture and Your Home
- CDC – Cleaning and Disinfecting with Bleach